
Keep received, intermediate and final condition together
Use named inspection stages and matched evidence to document a card restoration workflow.
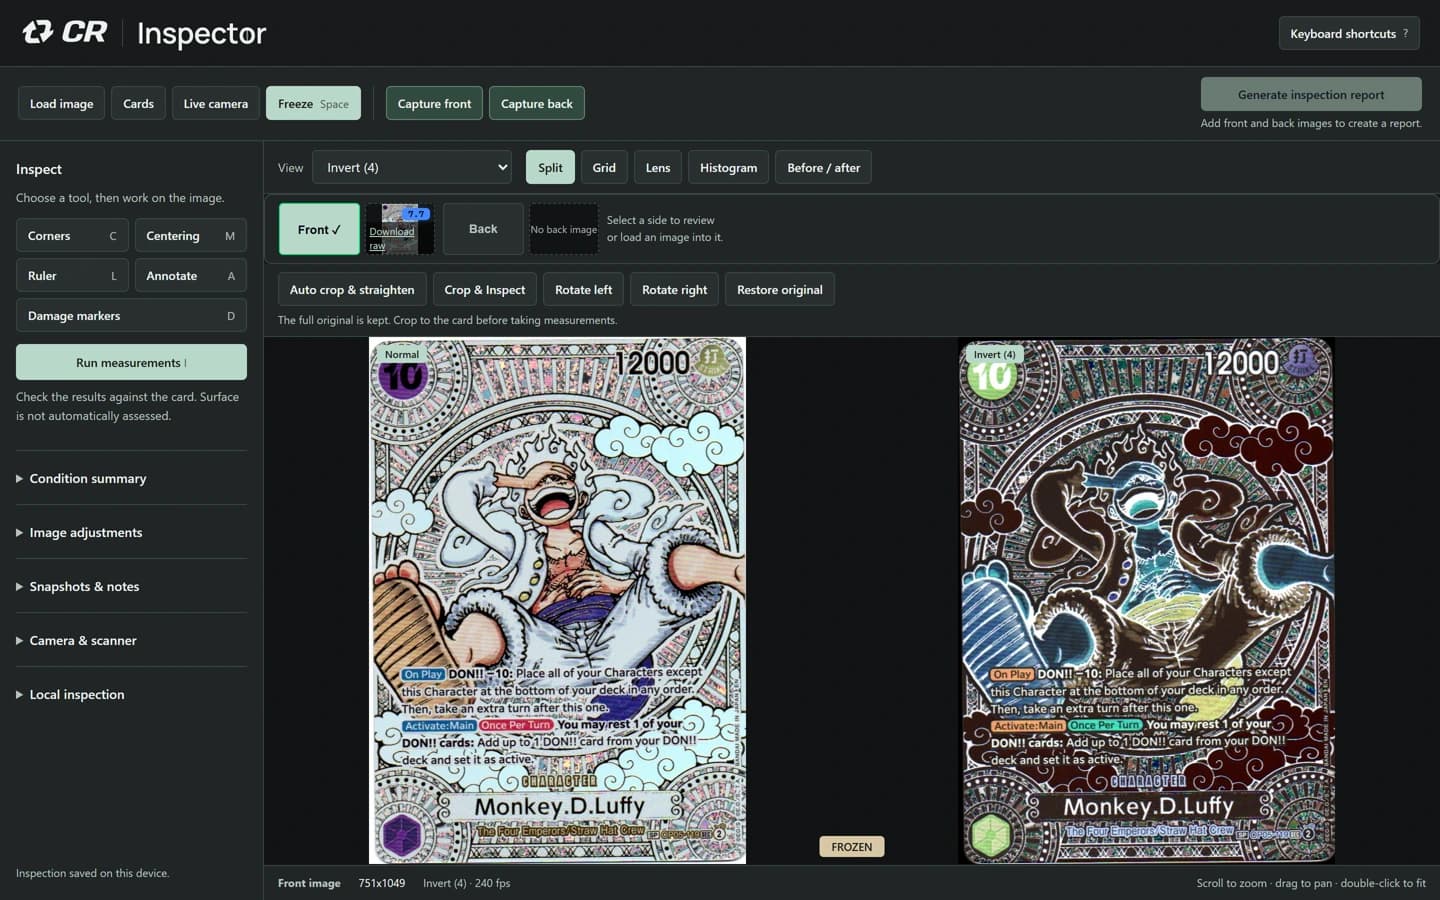
Start with the received card
Capture front and back and attach close-ups before work begins. Name a Received checkpoint. Record the physical lighting and view used when those details matter to interpretation.
Keep workshop instructions separate from customer-facing observations. Imported projects and videos can contain original metadata, so review them before sharing.
Compare like with like
Use a stable setup and repeat the framing and lighting when recording another stage. Reference comparison and before/after alignment help you compare images; different light or focus can still create misleading differences.
Name intermediate checkpoints for stages you need to retain. Restoring a checkpoint replaces the current inspection, so save the current stage first if both matter.
Make the final record understandable
Name a Final checkpoint, then export the project or explicitly save a cloud card. Reopen the retained project and check its received, intermediate and final checkpoints before relying on that record.
Export a customer copy showing the observations and selected evidence you intend to share. State the scope of the inspection and any uncertainty.
Inspector documents the operator’s work. It does not certify a restoration, card authenticity or an independent grade.
Inspector is an operator-led inspection and record tool. CardRevive AI Grader is a separate product with a separate subscription; Inspector does not use AI to diagnose the card or promise a grade.
The PDF uses supplied card images and operator-entered demonstration observations. It is not a customer case study or an independent assessment of the sample card. The sample workflow is deliberately limited; saved projects and cloud sharing are available in the subscribed workbench.